

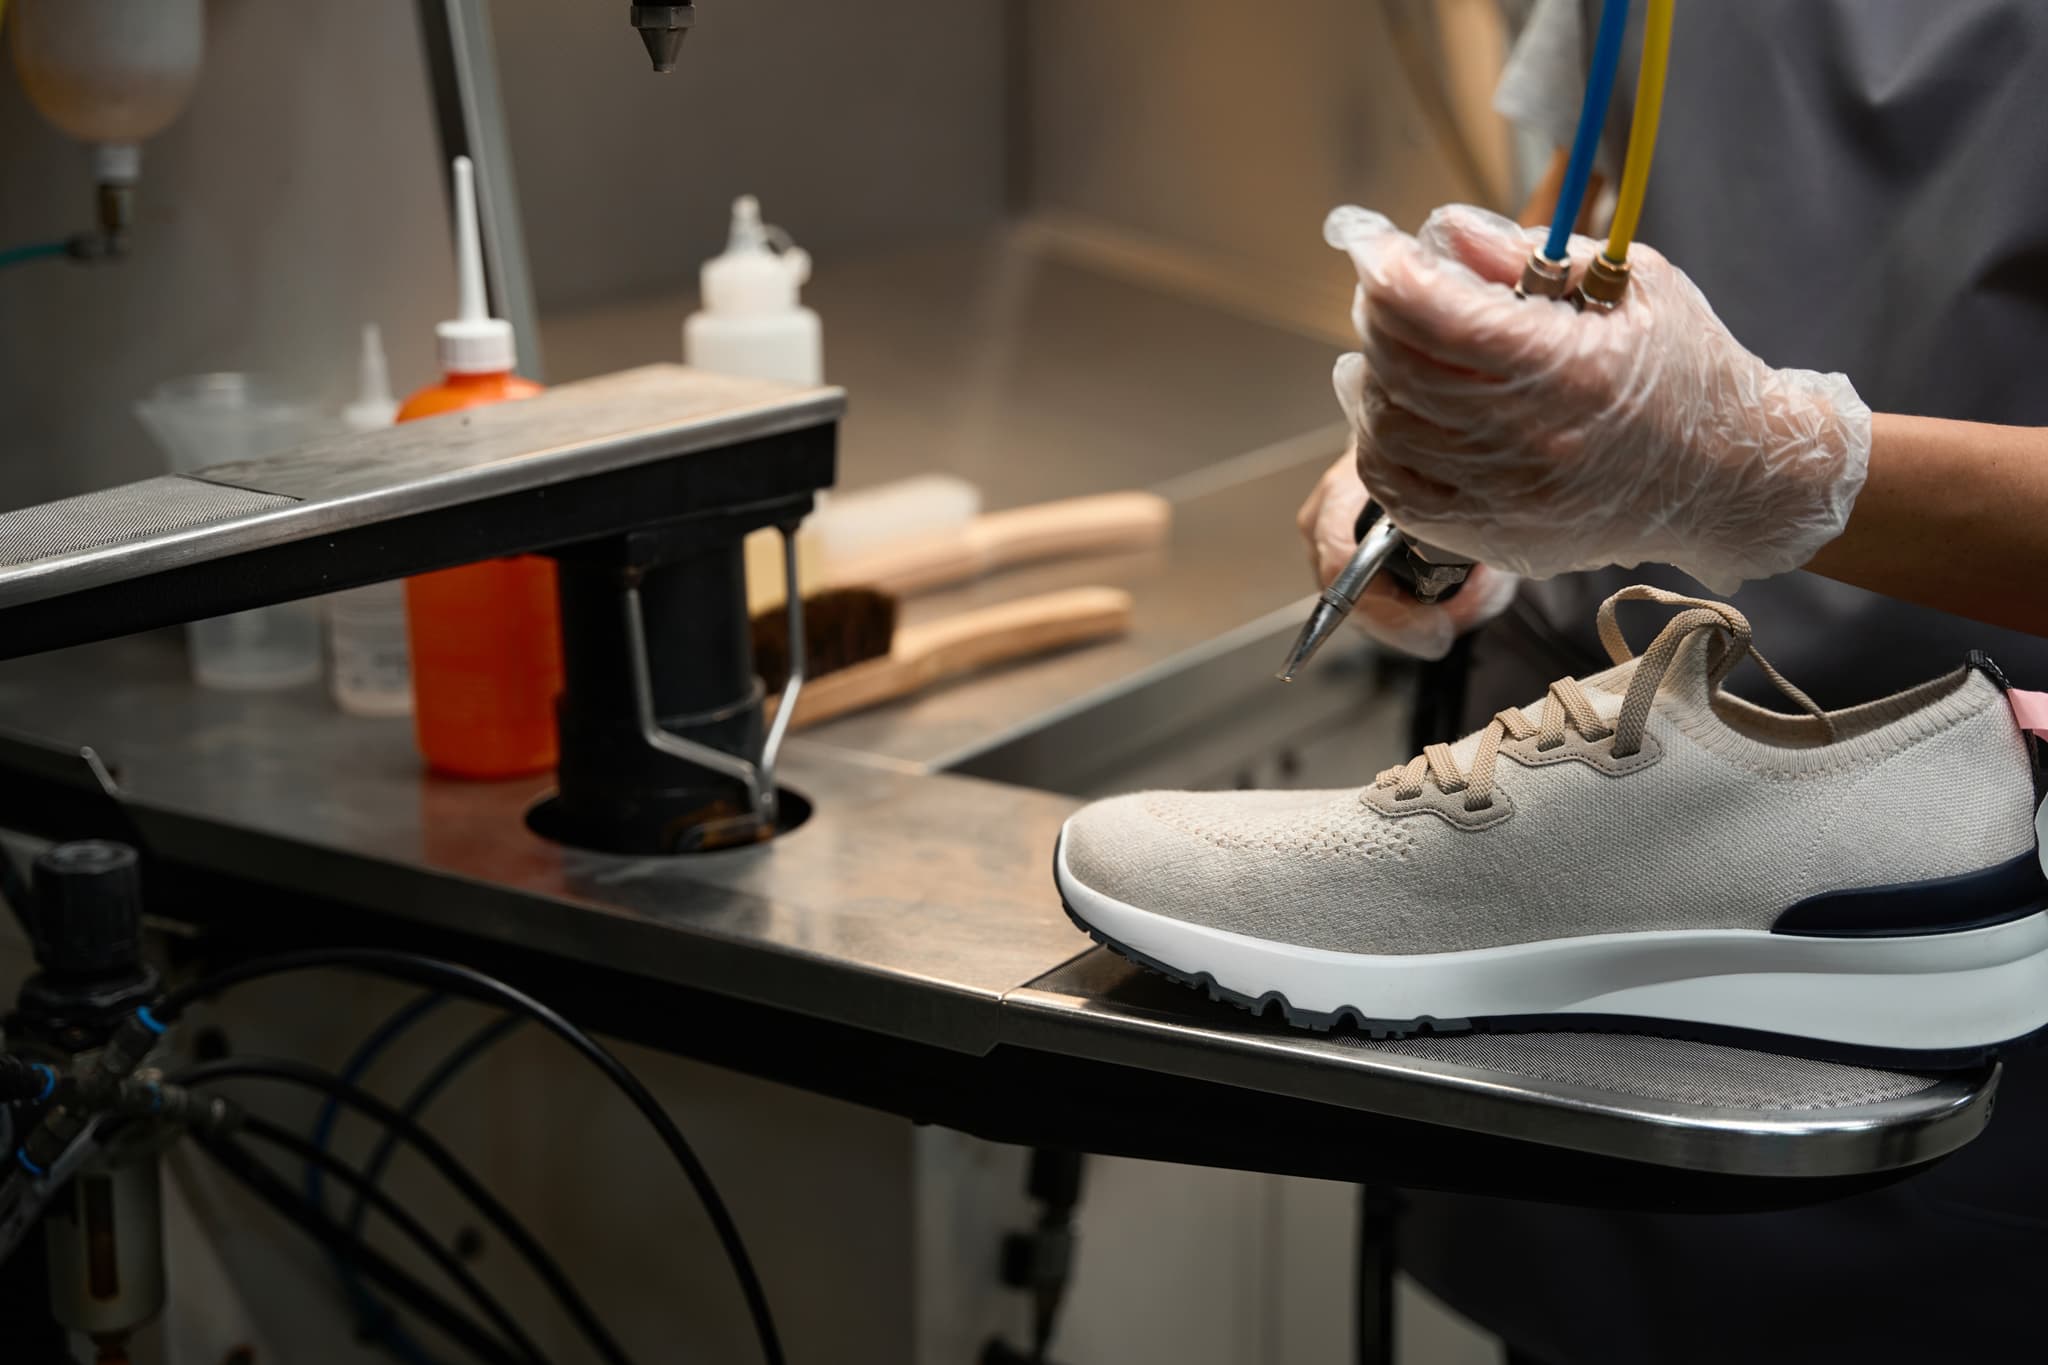
Designer trainer cleaning is a materials job before it is a cleaning job. A single expensive pair can carry calf leather, suede, patent, knitted fabric, printed panels, foam and rubber, and each one wants a different approach.
The work starts by identifying every material on the shoe and testing where it will not show, then treating the pair section by section rather than all at once. Get that order right and most pairs come back well. Get it wrong and the damage is usually permanent.
Why an expensive pair is a different job
The difference is not really the price tag. It is what the price tag buys.
Cheaper trainers tend to use coated, finished leathers and synthetic panels, which are forgiving. The colour sits on top as a sealed layer, so a bit of moisture and a bit of pressure do not do much harm. Designer construction goes the other way.
Softer, more lightly finished leathers are used because they look and feel better, and lightly finished leather absorbs everything it touches.
Uppers are cut into more panels, in more materials, with more glue lines and stitching in between. Dyes are often richer and less stable. Finishes are thinner.
All of that is why the pair looks good. All of that is also why it is fragile.
There is a second reason to slow down. On an ordinary pair, a mistake costs you the pair. On a collectible or discontinued one it costs you something you cannot replace at any price, because the model is no longer made.
That changes the arithmetic on how much intervention is sensible, and it is worth saying out loud that the correct answer is sometimes less cleaning rather than more.
Designer trainer cleaning, step by step
This is the order the work is actually done in, and the order matters more than any individual product.
1. Identify every material
Before anything is touched, each panel is worked out separately: is that suede or nubuck, is the leather finished or aniline, is that panel painted or dyed, is the lining shearling or synthetic.
A pair can easily have six or seven answers. Anyone who starts cleaning before answering those questions is guessing.
2. Test somewhere that does not show
Every material gets tested in a hidden spot, on the inside of the heel, under the tongue, along a seam allowance.
This is where you find out whether the colour is dyed into the fibre or coated on the surface, and whether it moves. Skipping this step is the single most common cause of ruined trainers, and it takes a minute.
3. Do the dry work first
Loose dirt, grit and dried mud come off dry, with brushes chosen for the material rather than one brush for the whole shoe. Laces come out. Insoles come out.
Dry work removes a surprising amount of what people assume needs washing, and every bit removed dry is a bit that never has to be wetted.
4. Wet work, panel by panel
Only now does moisture come into it, and only where that particular material can take it. The pair is never submerged.
Working panel by panel with controlled moisture is what stops a dark section bleeding into a pale one and what stops suede drying with a tide line at the edge of the wet patch.
5. Dry slowly, in shape
Trainers are dried away from direct heat, with the shape supported from inside. Heat is the enemy at this stage: it hardens suede, shrinks leather, and works on the adhesive holding the upper to the sole. A radiator will undo a good clean in an evening.
6. Finish
Suede has its nap raised back up while it is still slightly damp. Leather is fed so it does not dry stiff. Edges are tidied where the dressing has worn. Then protection goes on, and the laces and insoles go back.
The finishes that catch people out
| Material | What goes wrong | What it needs |
|---|---|---|
| Suede and nubuck | Water marks, flattened nap, a tide line where the wet patch ended | Dry work first, minimal controlled moisture, nap lifted while damp |
| Finished (pigmented) leather | The surface finish can be stripped by solvent, leaving a dull patch | Gentle cleaning, no solvent wipes, fed afterwards |
| Aniline and lightly finished leather | Absorbs everything, marks easily, darkens where oil touches it | The least intervention that works, always tested first |
| Patent | Scuff transfer from other shoes, and cracking at the flex points | Transfer usually lifts. Cracking is structural and permanent |
| Painted or printed panels | Solvent lifts the print straight off | No solvent at all, light mechanical work only |
| Knitted and mesh uppers | Dirt sits down in the weave, and scrubbing distorts it | Low pressure, controlled moisture, never a stiff brush |
| Foam midsoles | Absorb water, compress, and yellow with age | Surface work only, never soaked |
| Shearling and fur linings | Mat down and hold smell | Treated separately from the upper |
| Metallic and iridescent coatings | The coating abrades off and does not come back | Minimal contact, nothing abrasive |
What home kits and quick services get wrong
Most damage that arrives on the bench was done with good intentions.
One brush for the whole shoe. A brush stiff enough for a rubber midsole will tear the nap off nubuck. Materials need their own tools.
Whitening products used on the wrong panel. Pastes and foams sold for midsoles and canvas are not made for suede or for lightly finished leather, and on those they bleach and stiffen.
Solvent wipes on printed panels. They take the print with them. This one is not recoverable.
Soaking the pair to save time. Submerging a mixed-material shoe is how dye migrates from a dark panel into a pale one, and how a glue line starts to fail.
Chasing something that is not dirt. Yellowed foam and set-in creases are not cleaning problems and no amount of scrubbing turns them into one. Anyone promising otherwise is selling.
If your pair is only lightly marked, you may not need anyone. How to clean suede shoes at home covers what is safe to do yourself, and getting stains out of suede handles the specific marks that need a different approach again.
Looking after a pair once it is back
Cleaning is a reset, not a finish line. Four habits do most of the work:
- Protect them while they are clean. A suitable protector applied to a clean, dry pair is far more effective than one applied over dirt, which just seals the dirt in.
- Brush suede after wearing, not once a season. Thirty seconds stops dirt working down into the nap where it is much harder to reach.
- Let them rest between wears. A day off lets the linings dry properly, which is most of what stops a pair developing a smell.
- Deal with wet weather immediately. Blot, never rub, then dry slowly away from heat with the shape supported.
Smell, if it has already set in, is worth treating as its own problem. It lives in the liner and the foam rather than on the outside, which is why a pair can look clean and still be unwearable. That goes through ozone odour removal rather than another clean. A sole starting to lift at the edge is a repair, not a cleaning job.
When it is worth calling a specialist
Send them out when the pair is worth more than the risk of experimenting: mixed exotic or lightly finished materials, a colour that moves when tested, a discontinued or collectible model, deep staining on pale suede, or anything where you have already tried something and it went the wrong way.
Do it yourself when it is surface dust and light scuffing on a tough, finished material, and you have the right brush.
Our shoes, boots and designer trainer cleaning service covers the work described above, assessed and priced before anything begins. If you are local, Tottenham and the rest of North London are inside the collection area, and anywhere else in the UK can use the tracked postal service.